- Introduction
- What is Open WebUI?
- Requirements Before Installation
- Minimum system requirements:
- Step 1: Install Docker
- Install Docker on Ubuntu:
- Step 2: Install Open WebUI
- Step 3: Access the Interface
- Step 4: Connect to an AI Model (Ollama)
- Install Ollama:
- Step 5: Configure Open WebUI
- Step 6: Using Open WebUI in Production
- 1. Secure access
- 2. Run on a VPS or GPU server
- Step 7: Common Issues & Fixes
- ❌ Cannot access UI
- ❌ No models found
- ❌ Connection error
- Architecture Overview
- Why Open WebUI is Powerful
- Use Cases
- Final Thoughts
Introduction
Open WebUI is a powerful self-hosted interface for running and interacting with large language models (LLMs) locally or on your own server. It provides a clean ChatGPT-like UI while giving you full control over your AI infrastructure.
This guide will walk you through everything you need to install, configure, and run Open WebUI step by step, even if you are a beginner.
What is Open WebUI?
Open WebUI is an open-source web interface designed to connect with local or remote AI models. It is commonly used with tools like Ollama or OpenAI-compatible APIs.
With Open WebUI you can:
- Chat with local LLMs (Llama, Mistral, Qwen, etc.)
- Manage multiple models
- Create a ChatGPT-like experience on your own server
- Run AI completely privately
- Integrate with APIs and external tools
Requirements Before Installation
Before setting up Open WebUI, make sure you have:
Minimum system requirements:
- Linux / macOS / Windows (Linux recommended for servers)
- Docker installed (recommended method)
- At least 4–8 GB RAM (16 GB+ recommended for LLM usage)
- A running LLM backend (like Ollama or OpenAI API)
Step 1: Install Docker
Open WebUI is easiest to install using Docker.
Install Docker on Ubuntu:
sudo apt update
sudo apt install docker.io -y
sudo systemctl start docker
sudo systemctl enable docker
Check installation:
docker --versionStep 2: Install Open WebUI
Run the following command:
docker run -d \
  --name open-webui \
  -p 3000:8080 \
  -e OLLAMA_BASE_URL=http://host.docker.internal:11434 \
  -v open-webui:/app/backend/data \
  --restart always \
  ghcr.io/open-webui/open-webui:main
Step 3: Access the Interface
Open your browser and go to:
http://localhost:3000If installed on a server:
http://YOUR_SERVER_IP:3000Step 4: Connect to an AI Model (Ollama)
Open WebUI works best with Ollama.
Install Ollama:
curl -fsSL https://ollama.com/install.sh | shRun a model:
ollama run llama3Now Open WebUI will automatically detect available models.
Step 5: Configure Open WebUI
Inside the interface you can:
- Select models
- Adjust temperature (creativity)
- Manage chat history
- Create system prompts
- Switch between multiple models
Step 6: Using Open WebUI in Production
For real server usage, you should:
1. Secure access
- Add authentication
- Use Nginx reverse proxy
- Enable HTTPS (Let’s Encrypt)
2. Run on a VPS or GPU server
Recommended setup:
- 4–16 vCPUs
- 16–64 GB RAM
- GPU (optional but recommended for speed)
Step 7: Common Issues & Fixes
❌ Cannot access UI
Check:
- Docker container is running:
docker ps❌ No models found
Make sure Ollama is running:
ollama list❌ Connection error
Check:
- correct API URL
- firewall settings
- ports 3000 / 8080 open
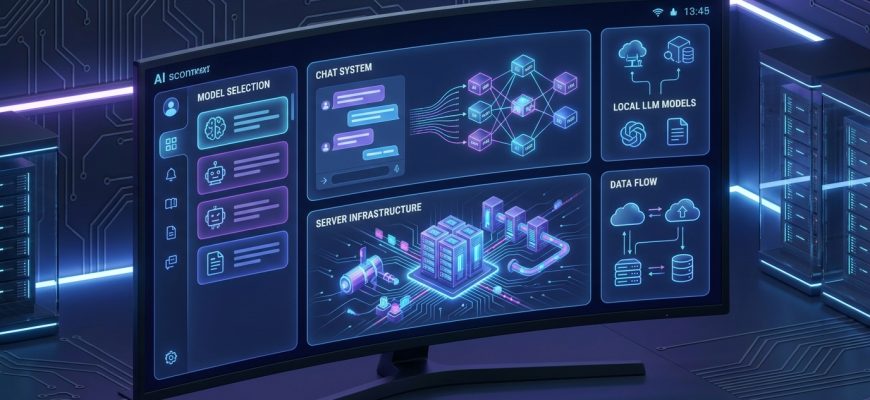
Architecture Overview
Open WebUI works like this:
User → Open WebUI → LLM Backend (Ollama / API) → Response → UIIt acts as a bridge between you and the AI model.
Why Open WebUI is Powerful
- Fully open-source
- Works offline (local AI)
- Supports multiple models
- Easy to deploy on servers
- Ideal for AI infrastructure setups
- Perfect for automation workflows
Use Cases
Open WebUI is widely used for:
- Local AI assistants
- Private ChatGPT alternatives
- Developer tools
- Corporate AI systems
- AI automation pipelines
- Server-based LLM hosting
Final Thoughts
Open WebUI is one of the easiest ways to deploy a full AI interface on your own infrastructure. When combined with tools like Ollama and server-based LLMs, it becomes a powerful foundation for building AI systems, automation tools, and even full content generation pipelines.
If you are building an AI server stack or content automation system, Open WebUI is often the first layer of your architecture.